By Marc Laliberté 2 November, 2025
As you may know, I’m a big fan of horror movies, and recently I watched The Lighthouse (2019) by Robert Eggers. I loved it and highly recommend it.
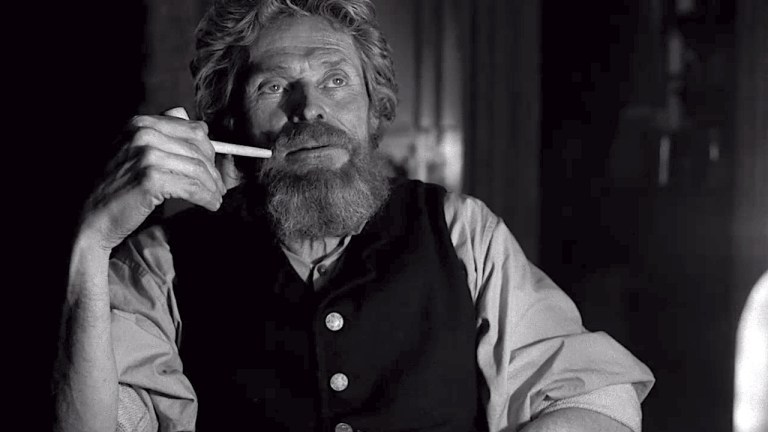
It was the cinematography that impressed and inspired me most. Every shot is a work of art in itself and a complete visual feast. The film is in black and white and in a 1.19:1 aspect ratio, which is rather unconventional for a modern film.
Furthermore, the film is shot on orthochromatic film, which is a type of black and white film sensitive to blue and green light but not to red light, which makes the red hues appear very black (Source).
Here are some examples from the film:


Furthermore, in the PiXimpefect tutorials on YouTube, Unmesh often uses a similar technique to easily see skin imperfections for faster corrections. Essentially, he applies a black and white filter to the photo and pulls the red tones towards black, which highlights the skin flaws.
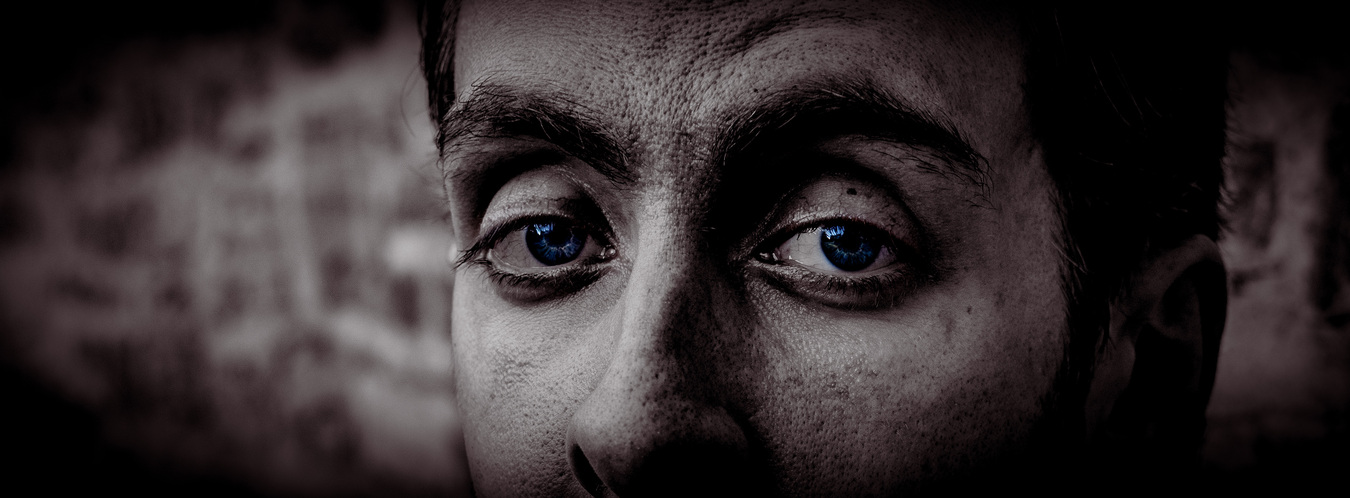
Basically, all of this inspired me to adopt a creative style in some of my photos. Of course, this style is definitely not flattering to the subject, but I still think it gives an interesting look to a photo that would otherwise be rather ordinary.
Before showing you the photos, here are the editing steps to achieve a style inspired by The Lighthouse in Adobe Lightroom:
- Apply a black and white profile
- In the black and white mixer, blend the red completely to black.
- For more dirt and imperfections, blend the orange slightly to black.
- Adjust Texture and Clarity to taste.
- Adjust curves and color grading to taste.
- Never show the photo to the model to avoid creating insecurities.
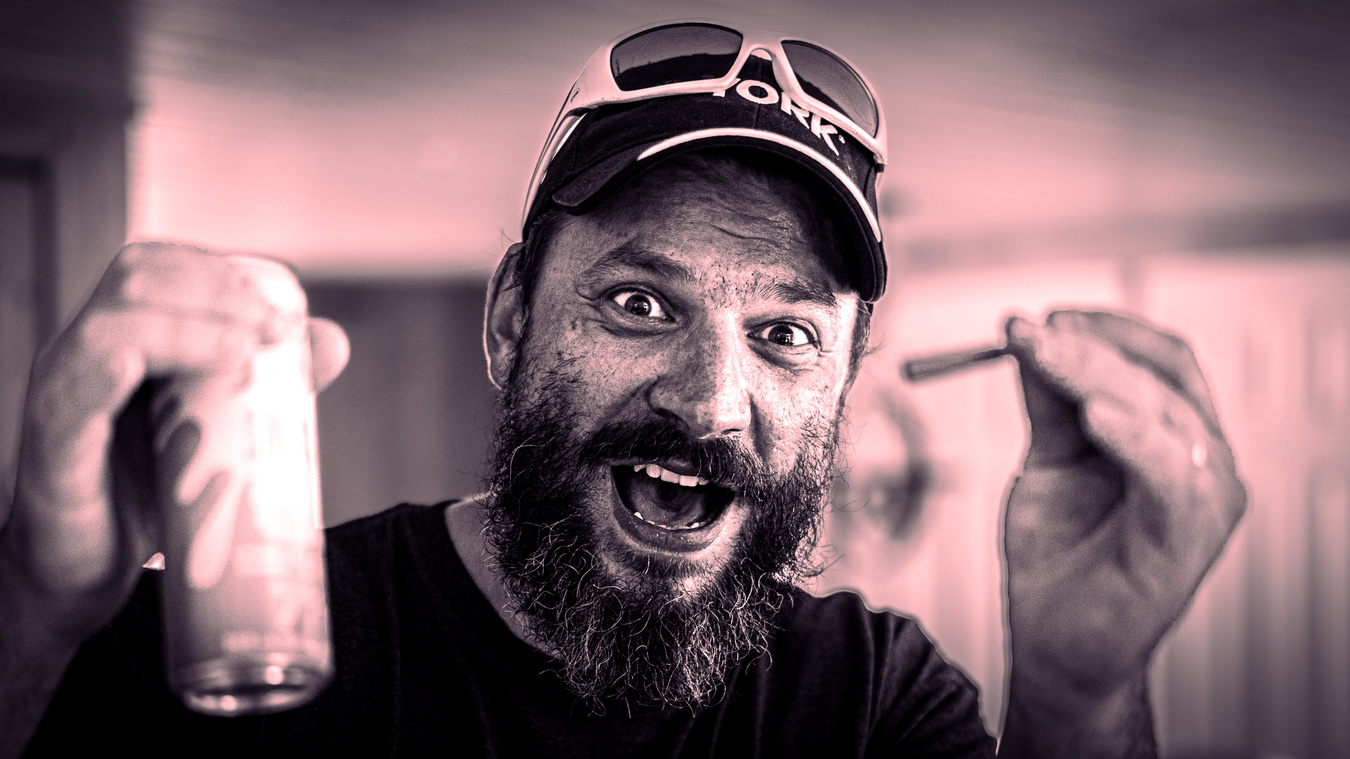
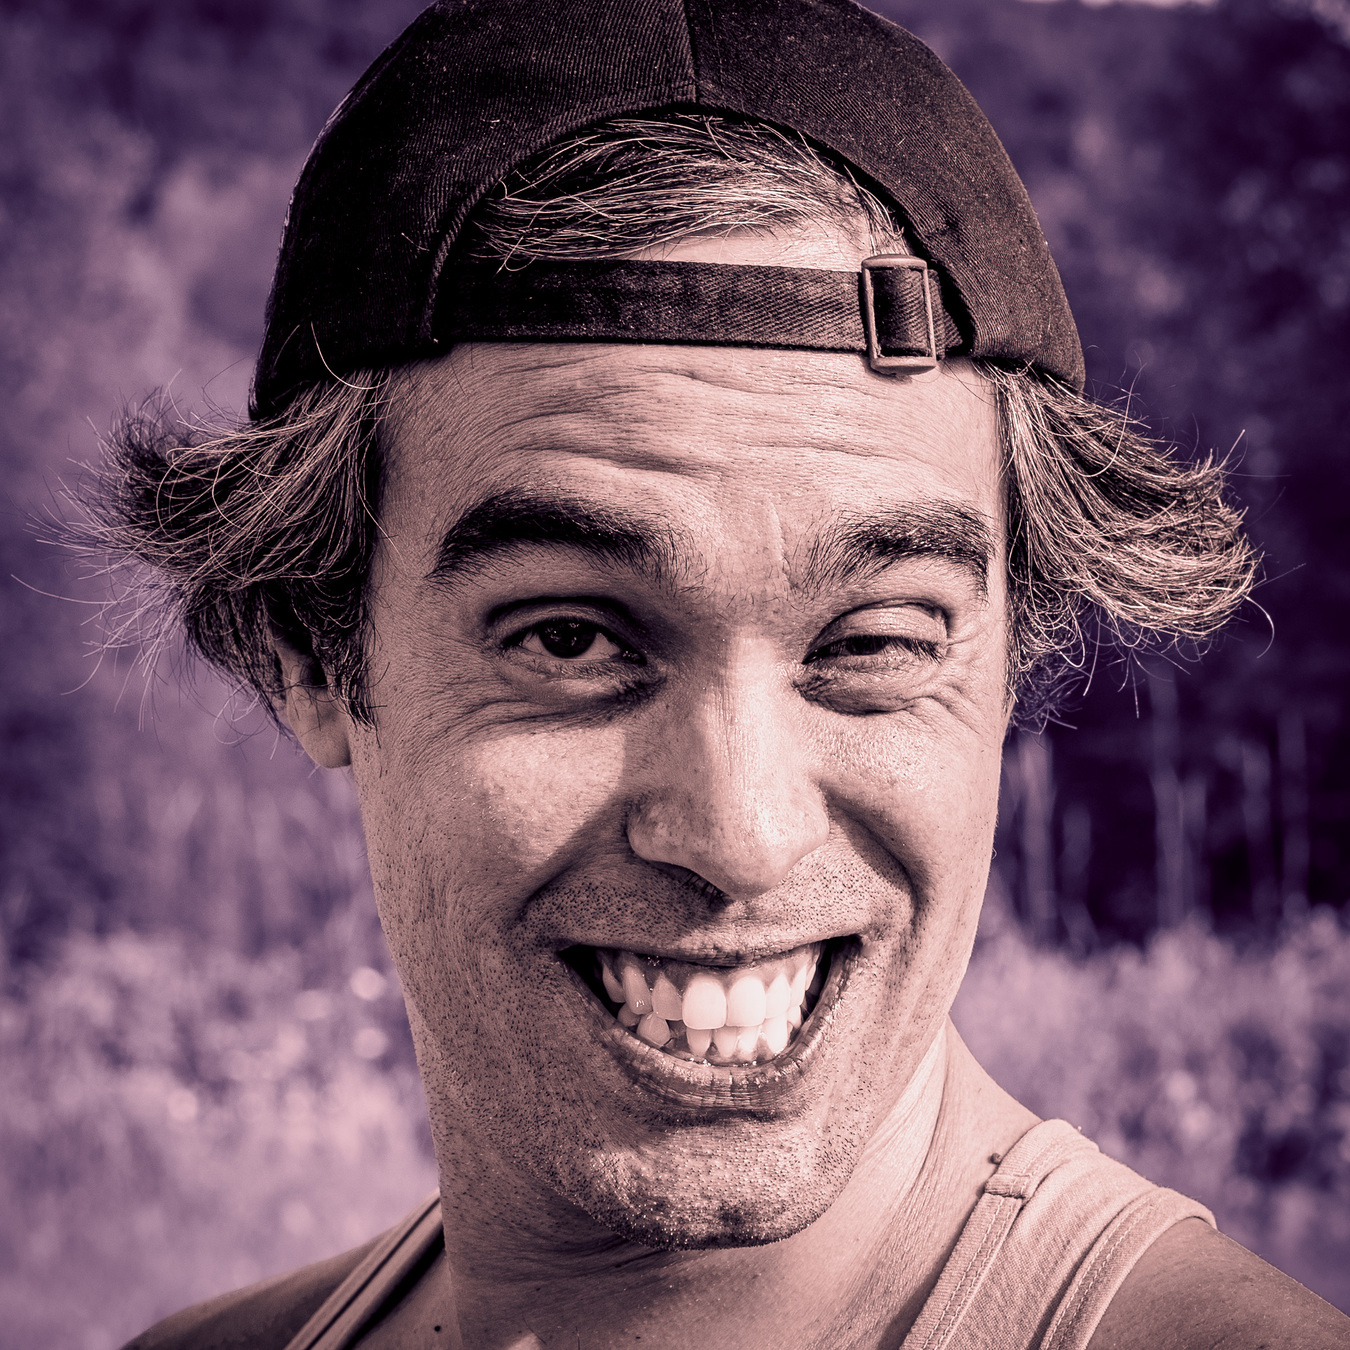
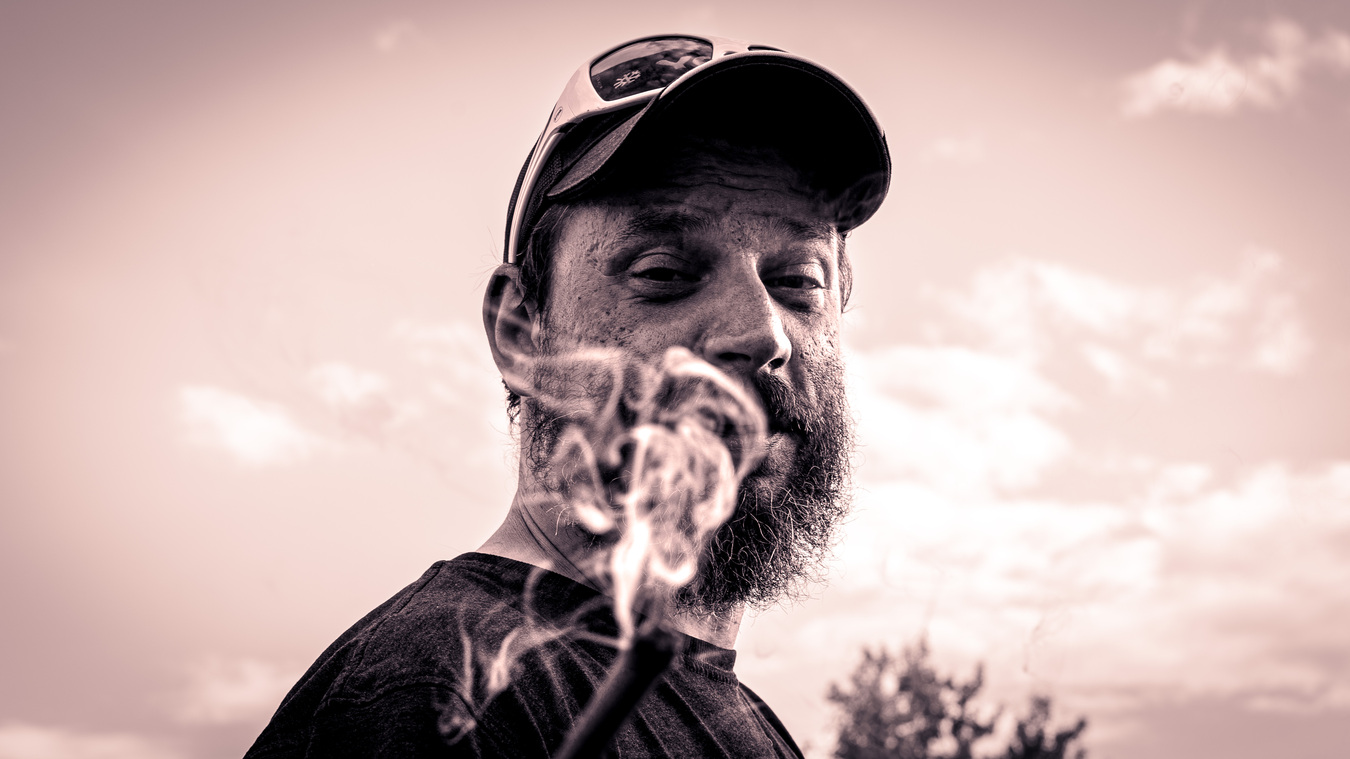
Here are some of my photos in this style that I really like. Furthermore, I used my Sony FE 50mm F1.8 lens, which does not help at all to beautify the subject.